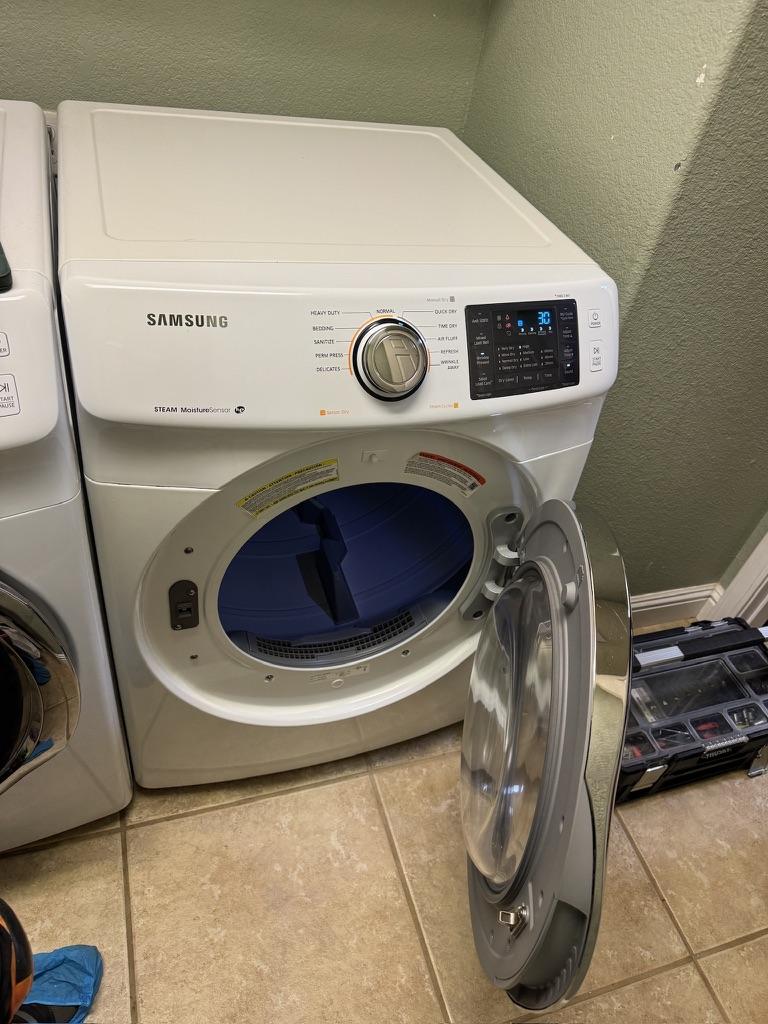
Samsung Dryer Not Heating Repair in Winters, CA
A Samsung electric dryer in Winters, California was no longer producing proper heat. The repair required more than simply replacing a part: the heating system was inspected, the failed heater assembly was replaced, and accumulated lint and debris were cleaned from inside the cabinet before the dryer was tested.
Repair Summary
Appliance: Samsung electric dryer
Location: Winters, CA
Customer complaint: Dryer was not heating properly
Diagnosis: Failed heating element assembly
Repair: Replaced the heater and cleaned lint and debris from inside the dryer
Result: Heat output and operating temperature were restored during testing
What Happens When a Dryer Heater Fails?
An electric dryer can continue to tumble even when the heating element has burned out. Clothes may remain damp, drying times can become much longer, or the dryer may produce no heat at all. Because airflow restrictions, thermostats, thermal fuses, wiring, and the heater can cause similar symptoms, the heating circuit should be diagnosed before parts are replaced.
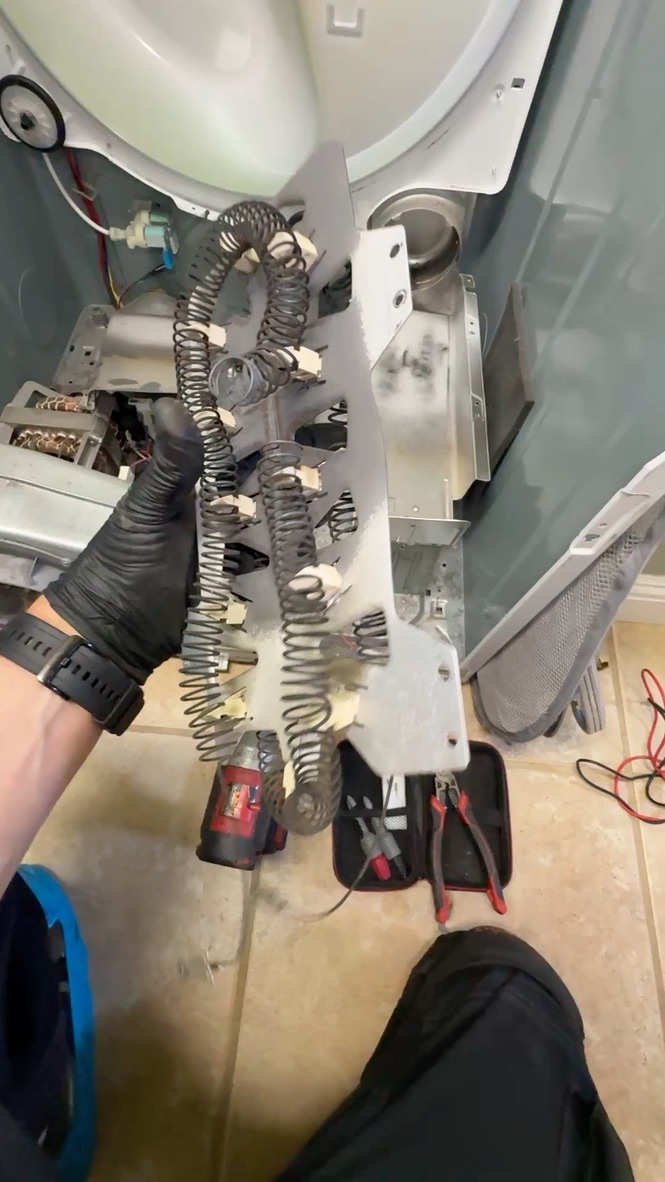
Diagnosis and Heater Replacement
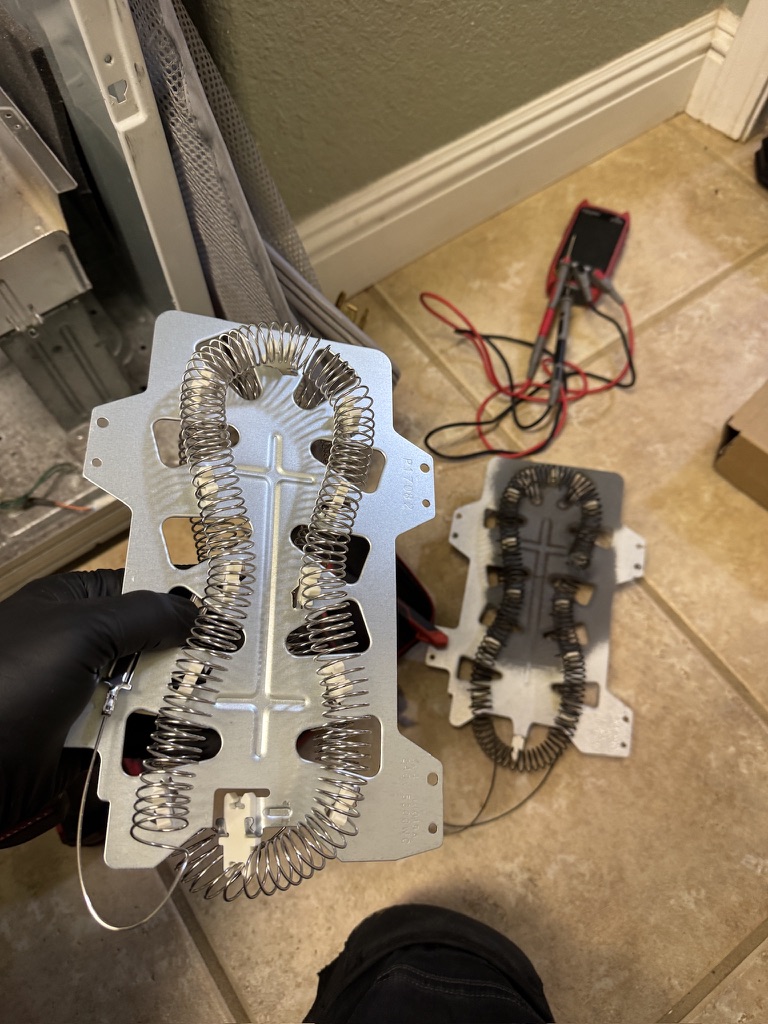
After safely disconnecting the dryer, we opened the cabinet and accessed the heating system. Inspection confirmed that the heater assembly had failed and needed replacement. The new heating element was compared with the original assembly, installed in the correct position, and connected to the dryer’s temperature-control and safety components.
Why We Cleaned Inside the Dryer
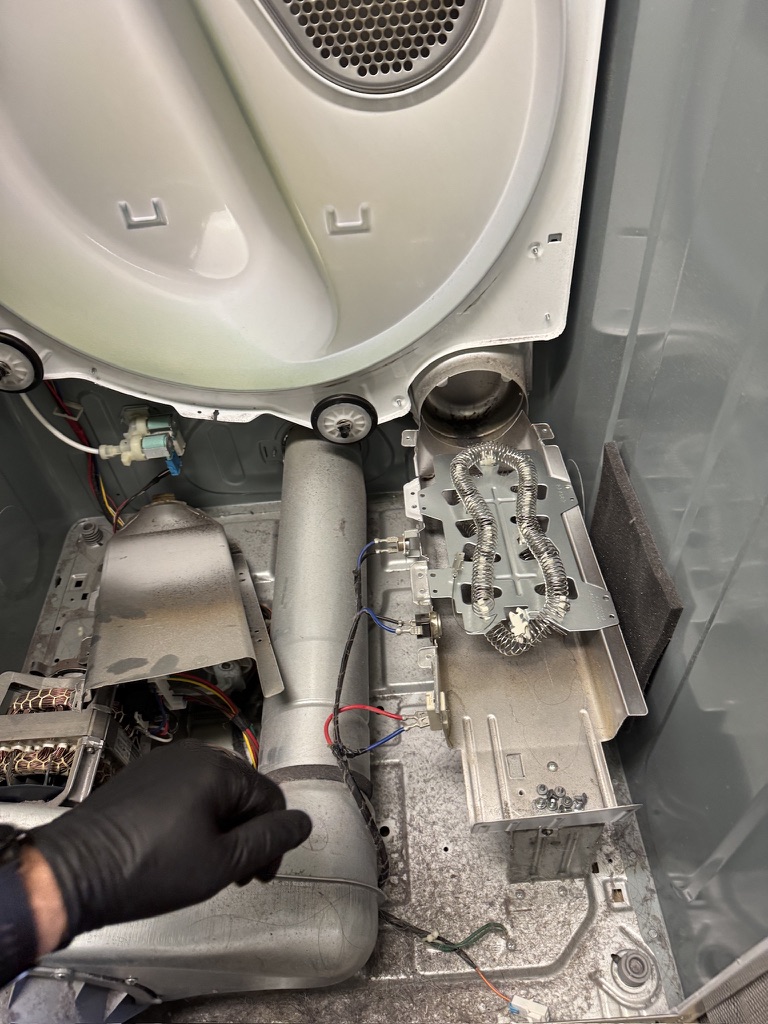
Lint does not remain only in the lint screen. Fine fibers can pass through the filter and collect around the heater housing, blower area, motor, wiring, and cabinet floor. This buildup restricts airflow, traps heat, and can shorten the life of heating and safety components.
While the dryer was open, accumulated lint and debris were removed from accessible internal areas. Cleaning during a major repair helps the new component operate in a cleaner environment and gives the technician an opportunity to inspect wiring, airflow passages, and nearby components before reassembly.
Final Heating and Temperature Test
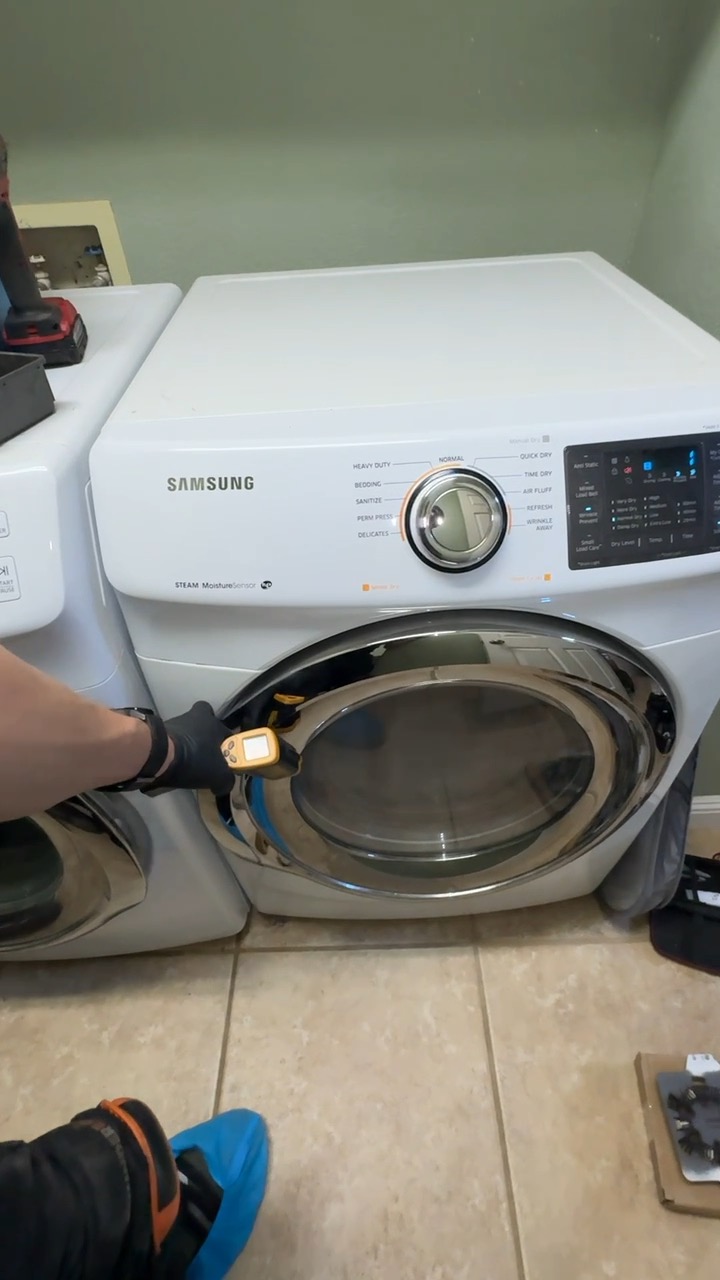
After reassembly, the dryer was operated through a heating cycle. We confirmed that the drum was turning normally, the heater was cycling, and warm air was moving through the dryer. Temperature was checked at the dryer opening to verify that heat output had returned.
Common Signs of a Dryer Heating Problem
The drum turns, but the dryer produces little or no heat
Clothes require multiple cycles to dry
The dryer heats briefly and then becomes cold
Drying time has gradually increased
The dryer stops early or shows a temperature-related error
How to Protect the New Heating Element
Clean the lint screen before or after every load.
Keep the vent hose short, properly connected, and free of crushing or sharp bends.
Have the exterior vent inspected and cleaned when airflow becomes weak.
Avoid overloading the dryer, which can increase drying time and heat exposure.
Address long drying cycles promptly instead of repeatedly running additional cycles.
Frequently Asked Questions
Why does my dryer tumble but not heat?
Possible causes include a failed heating element, thermal fuse, thermostat, wiring connection, power-supply problem, or restricted airflow. Testing is needed because several failures can create the same symptom.
Can lint buildup damage a dryer heater?
Restricted airflow can cause excessive temperatures and repeated cycling, placing additional stress on the heater and thermal safety components. Internal cleaning and proper vent maintenance help the dryer manage heat correctly.
Should the dryer vent be checked after replacing the heater?
Yes. A blocked or restricted exhaust vent can contribute to overheating and long drying times. The complete airflow path should be considered whenever a dryer has a heating problem.
Need Dryer Repair in Winters?
If your dryer is not heating, takes too long to dry, or repeatedly overheats, DNAA Appliance Repair can diagnose the heating and airflow systems and complete the necessary repair.